
Hand-Building Coil Pots for Garden Use

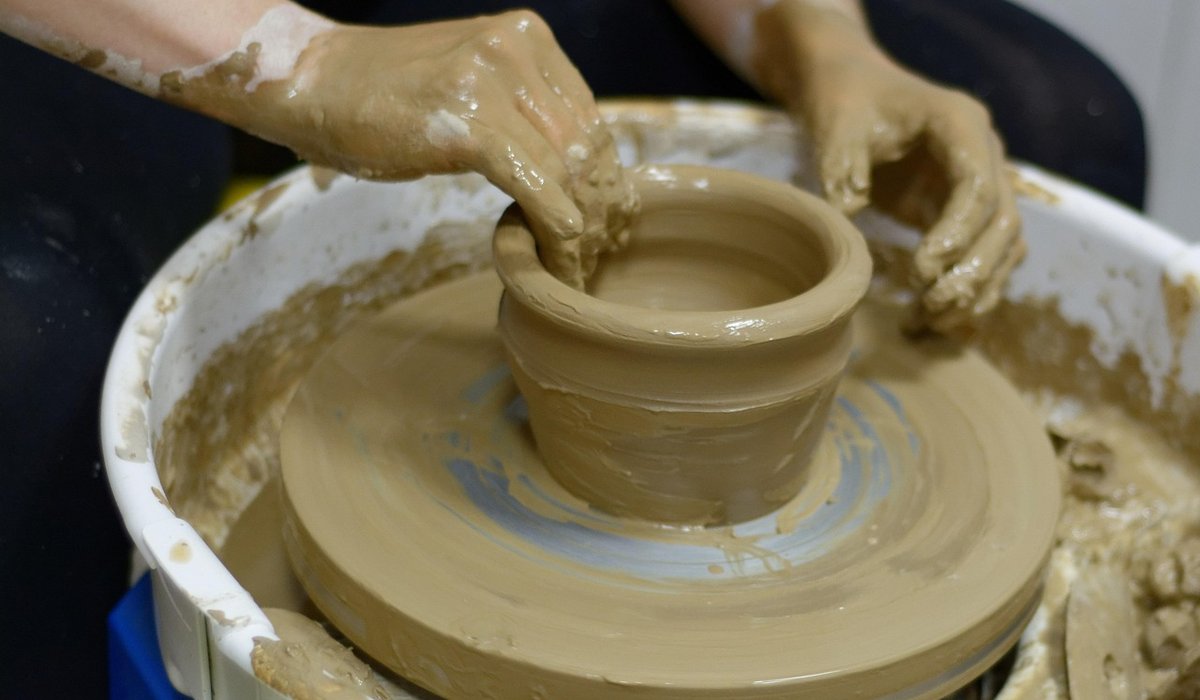
A pot that earns its place outdoors
Hand-built pots have a reputation for being decorative rather than durable, and it is not entirely undeserved. Coil pots made quickly, dried too fast and fired at earthenware temperatures will often crack or crumble after a couple of hard winters. Get the clay, the wall and the firing right, however, and a coil-built planter will hold a shrub for a decade or more. The method is slow, involving no wheel and very little equipment, which is exactly why it suits gardeners who want a pot of a particular size and shape rather than whatever the garden centre happens to stock.
Choose a clay body that can take a British winter
Frost damage begins when water soaks into the fired clay, freezes, expands and pushes the wall apart from the inside. A porous body will eventually fail — often on the third or fourth winter rather than the first, which makes it easy to blame the plant or the compost instead of the pot.
- Stoneware with grog is the sensible default. Look for a buff or red stoneware containing roughly 10–20 per cent grog, which opens the body, reduces shrinkage and gives the fired clay a little internal give.
- Fire it hot. At around 1220–1260°C stoneware vitrifies; it becomes dense enough that it absorbs very little water, and that alone does most of the work of frost-proofing.
- Treat earthenware as seasonal. Fired at 1080–1120°C, it is a lovely, forgiving material to handle, but unless every surface is glazed and the glaze fits perfectly, it will not survive repeated freezing. Bring those pots under cover for winter.
Shaping the base and the first coil
Begin with a slab base about 1.5 cm thick, rolled or patted out evenly and cut to a circle. Set it on a batt or board lined with newspaper so you can shift the pot later without gripping the walls. Score the top of the base edge lightly, then add your first coil and blend it firmly downwards into the slab as well as upwards. A well-joined first coil saves you a weak seam at the point where water collects.
Roll the first coil roughly the thickness of a marker pen, or a little fatter for a large planter. Even diameter matters more than speed: an uneven coil forces you to press harder in places, which distorts the wall.
Coils, joins and wall thickness
Work around the pot in rings or a gentle spiral, blending each coil into the one beneath on the inside with your thumb while supporting the outside with the flat of your other hand. If both coils are at the same softness, they will join without slip; scoring and slipping is for leather-hard joins. Pinch out rather than press in, and you will keep the wall upright.
- Aim for a wall of 1–1.25 cm. Thinner walls dry fast but crack and flex; thicker walls hold water and can fail in the kiln.
- Keep the base a shade thicker than the walls, and finish the rim at about 1 cm, rounded rather than knife-edged, so it resists knocks.
- Let the pot firm up as you go. Cover it loosely with a plastic bag between sessions. Building a tall planter over three or four days, letting each section reach leather-hard, is far safer than rushing it in one sitting.
- Check it stays true. Stand back regularly and sight across the rim; a spirit level laid across the top will tell you quickly if the walls have started to lean.
Drying, drainage and firing
Once the form is complete, dry it slowly. Wrap the pot loosely for a week, then open the wrapping a little more each day. Thick-walled planters that dry in a warm room, or in a sunny greenhouse, develop hairline cracks that only show up after firing.
Cut drainage holes when the clay is leather-hard, using a small round cutter or a drill bit turned by hand. Three to five holes of about 1 cm across will serve a planter of 30 cm diameter; for anything larger, add a central hole and a ring of smaller ones. Tidy the inside of each hole with a damp finger to remove burrs.
Bisque fire to around 1000–1040°C, then glaze fire to the top of the clay's range. Afterwards, stand the pot on pot feet rather than flat on paving. Lifting it clear of the ground lets water drain and air circulate, and it is one of the simplest things you can do to extend a pot's life.
Finishes that shrug off frost
A vitrified stoneware body is frost-resistant in itself, but a badly fitted glaze can undo that. If the glaze crazes — fine cracks across the surface — water will find its way behind it, and the pot may spall. Test your chosen glaze on a small tile first, and keep the very bottom of the pot unglazed so it does not sit in a puddle.
Textured surfaces suit garden pots particularly well: roughened clay, trailed slip, sprigged decoration pressed into the soft wall, or simple sgraffito lines. A soft matt glaze in a muted green, charcoal or oatmeal will look better each year as lichen and moss move in. Whatever the finish, avoid leaving the pot standing in a saucer through winter, and resist watering generously in wet months — the plant will thank you, and so will the pot.

Joeby Ragpa
This template is so awesome. I didn’t expect so many features inside. E-commerce pages are very useful, you can launch your online store in few seconds. I will rate 5 stars.
ReplyAlexander Samokhin
This template is so awesome. I didn’t expect so many features inside. E-commerce pages are very useful, you can launch your online store in few seconds. I will rate 5 stars.
ReplyChris Root
This template is so awesome. I didn’t expect so many features inside. E-commerce pages are very useful, you can launch your online store in few seconds. I will rate 5 stars.
Reply